Showing posts with label Artsy Me. Show all posts

Saturday, March 23, 2013

Go, Go, GO!


It is that time of year again...Derby Day! We have been sanding, painting, tinkering with our cars for the last two months and today we were able to finally race them.  I have decided that our family is not about speed,  aerodynamics, or sleekness...we are all about the interesting, funny, weird, how slow can we go kinda derby car.  And a couple of us came in dead last all day....it was awesome!  


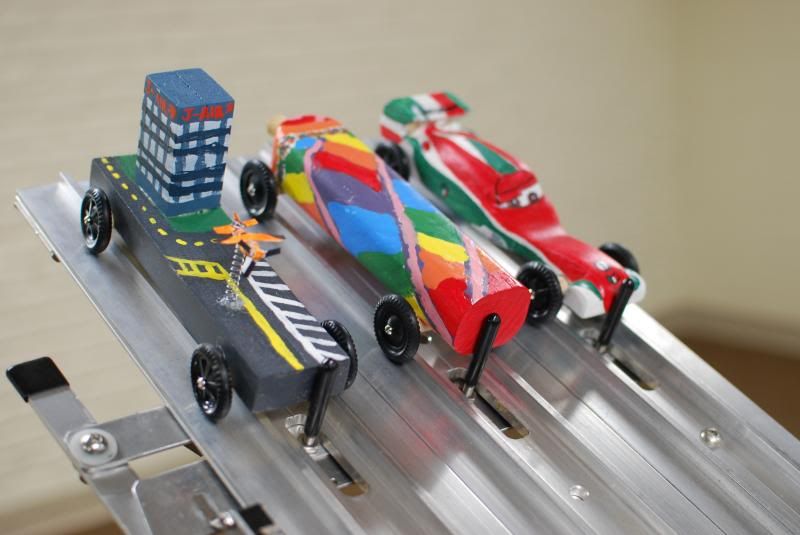
Here are some of our fabulous designs...

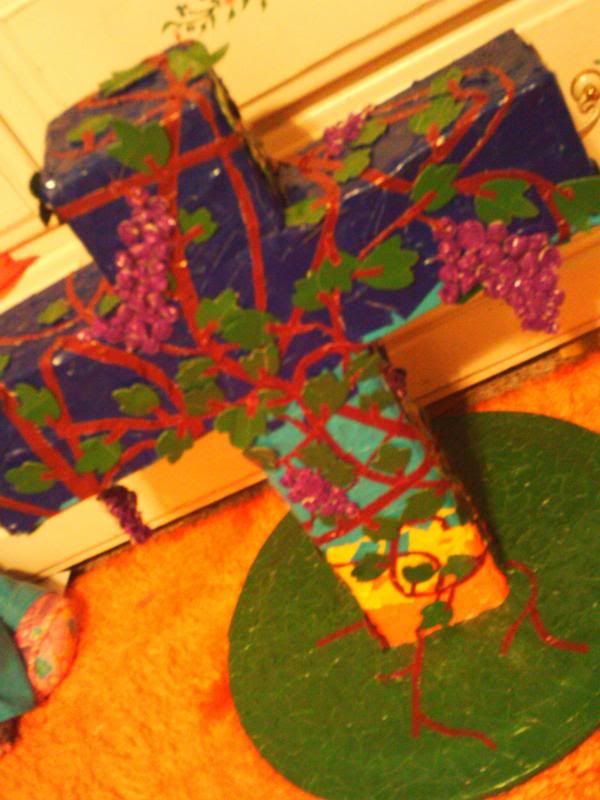
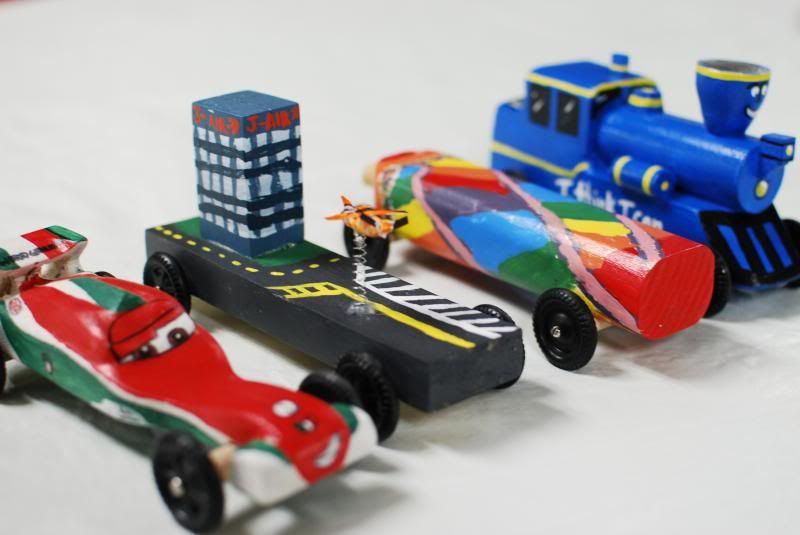
Francesco Brnoulli !

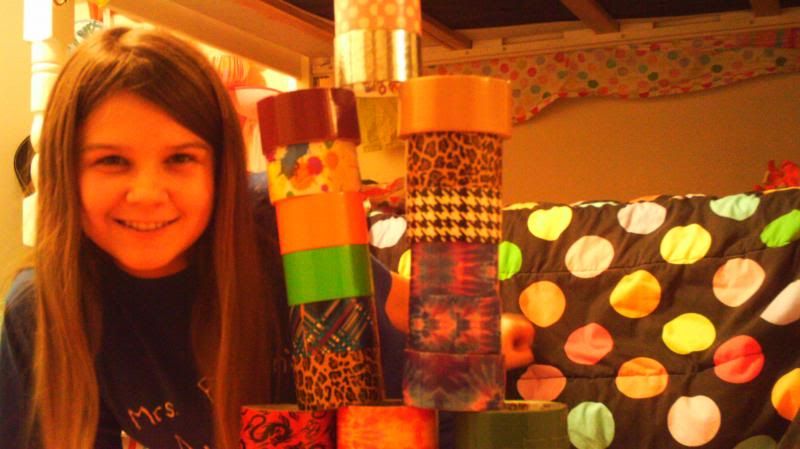
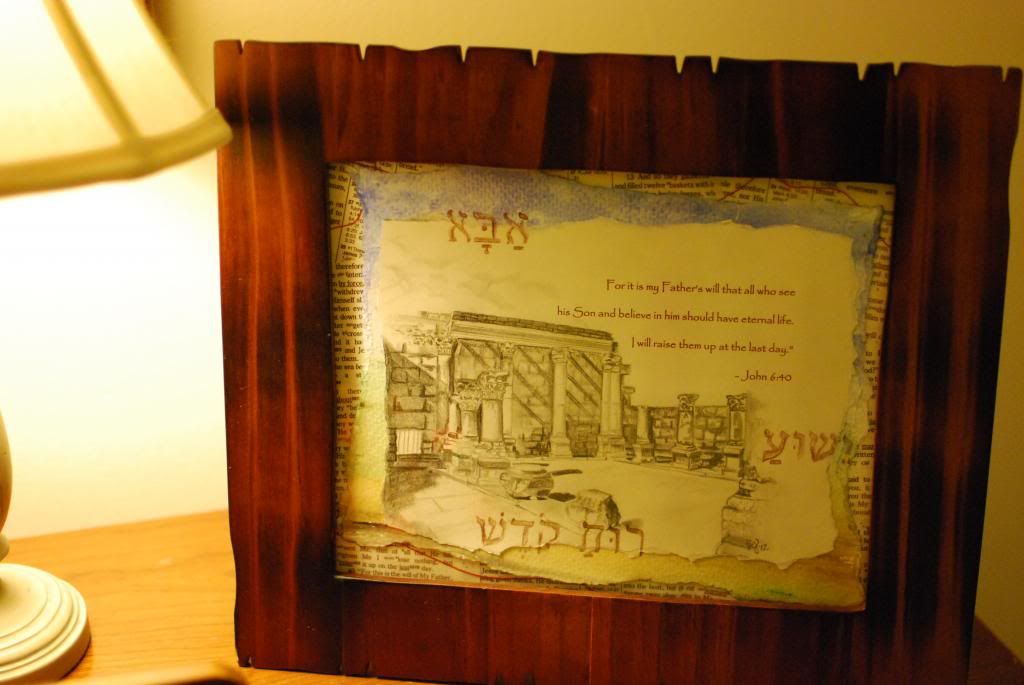
Her car is a replication of one of her sand art bottles
she made at a fair in Lundington, MI!

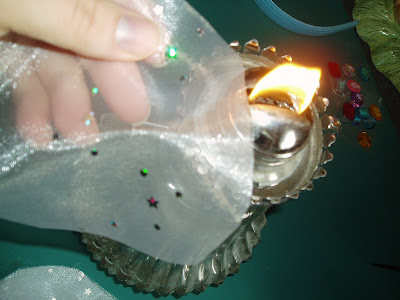
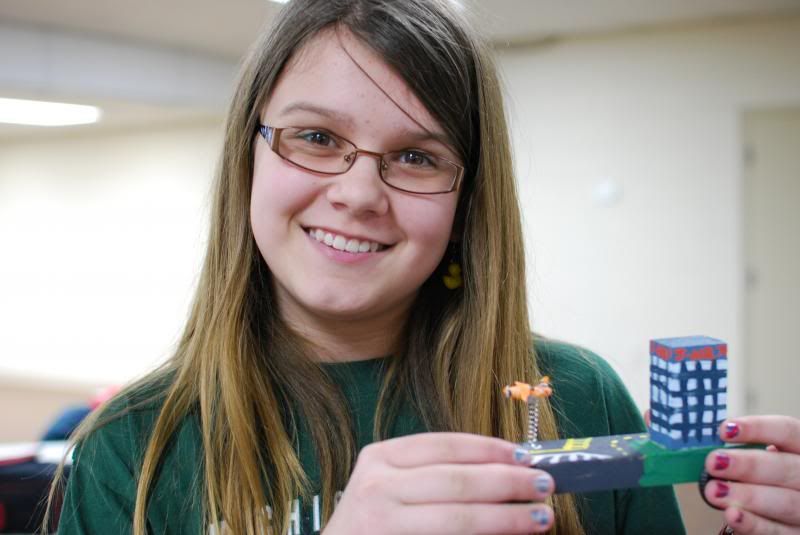
She did an airport complete with a flying plane!

My car was The Little Engine That Could....I think I can, I think I can!

We enjoyed watching all the races!


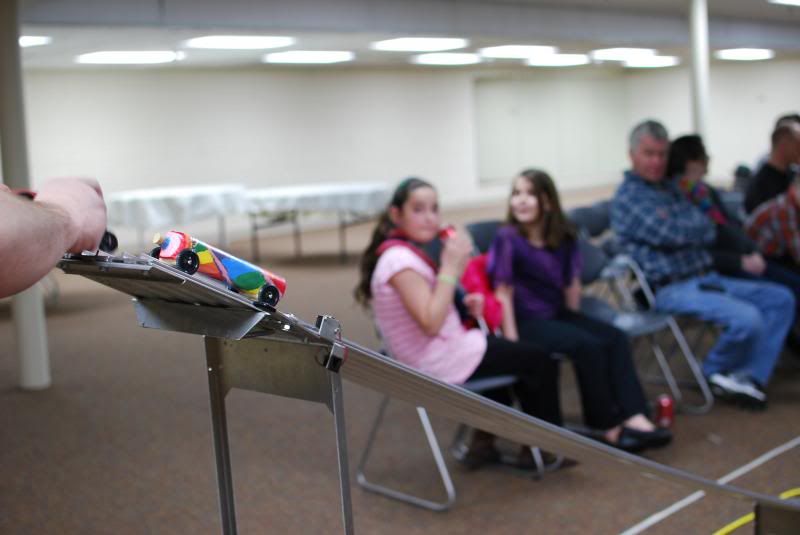
Here is the mom vs. my oldest daughter race..I won ( I won't tell you my train was a little on the heavy side...so I did have an unfair advantage)

Here is our annual "Family RACE" and the actually race car won!

My daughter came in 2nd for speed.
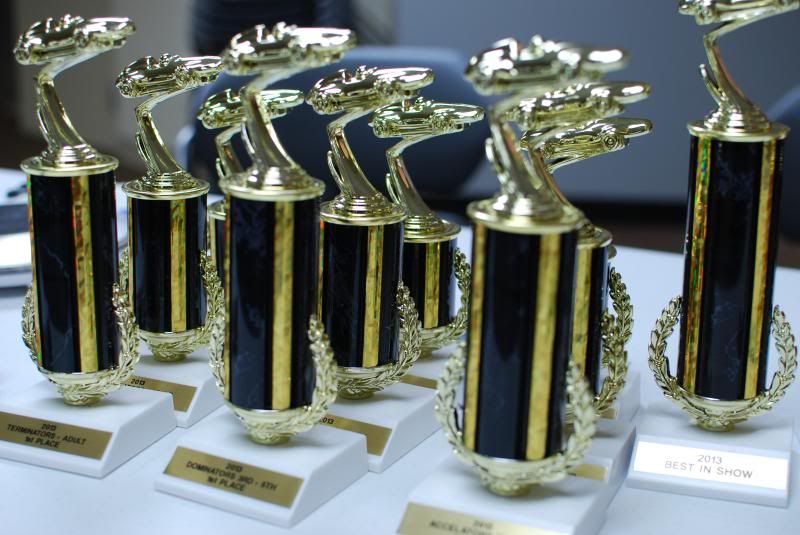
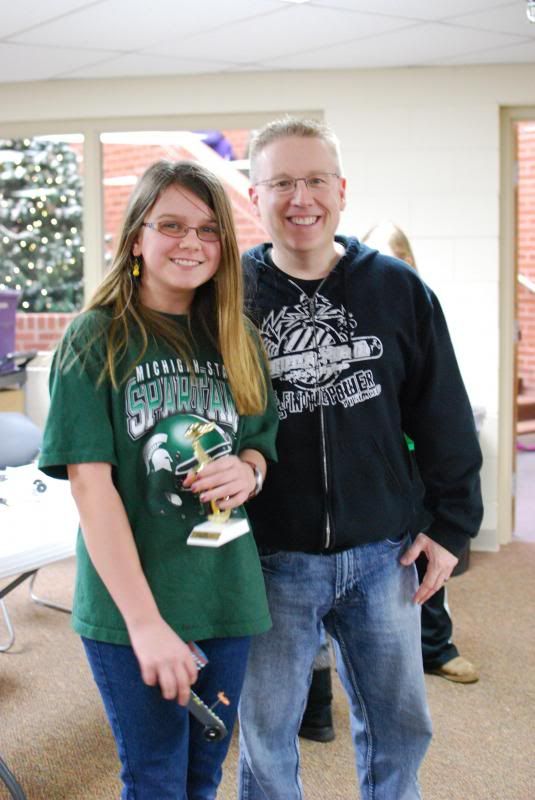
Getting her trophy from our childrens pastor, Pastor Kelly!
I came in 3rd for speed...did I tell you there was only three in our division!!!! hahahahahahaha
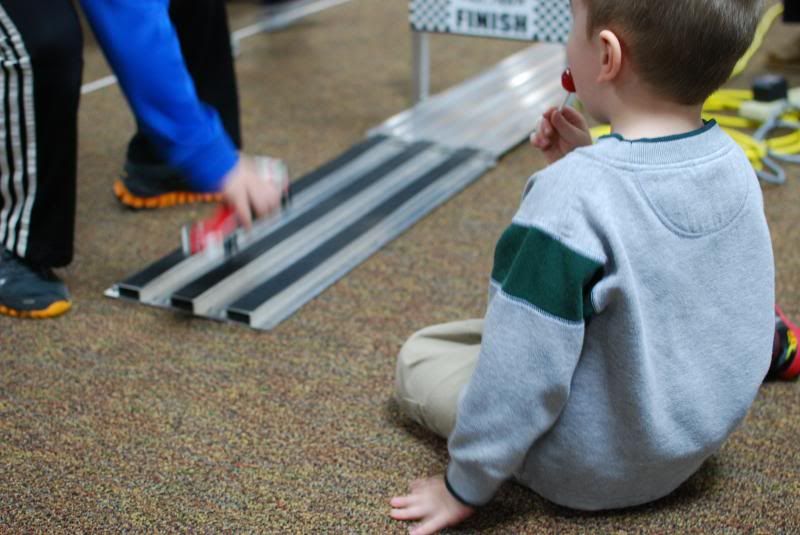
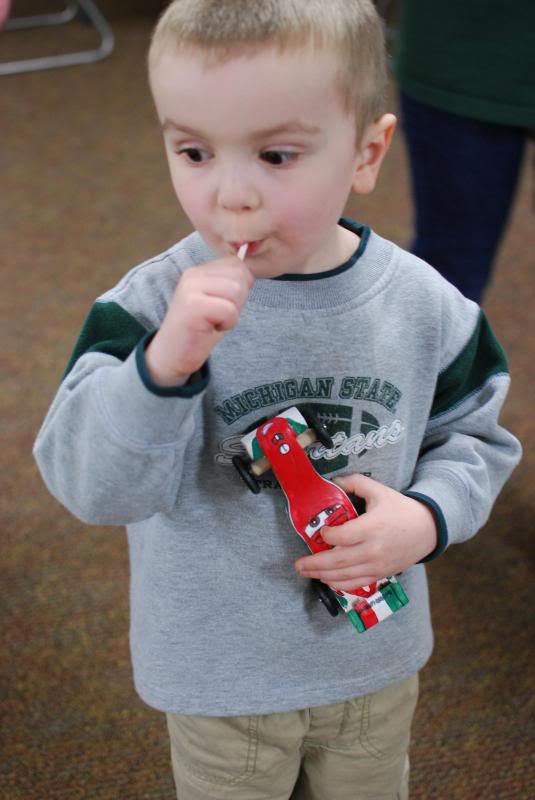
What a great family time and I got this super duper cute picture of shorty!  Love it and love racing our crazy fun cars!

Monday, March 18, 2013

Generations of Artist

My Great Grandmother
I love the date on this...1894! She is my grandpa's, pictured below, mother.
This hangs in my mom's living room. It is huge and amazing!
My Grandfather
I love this picture of my mom's dad.  It is so awesome.
I am glad we have it.

My Mother
My mother gave this picture of my son, in watercolor, to me this Christmas
along with two other paintings of my daughters.  My mother's brother and my sister are artist as well.
I have several cousins from my grandfathers brother who are also gifted artist.
And for good measure...my dad's mom is an artist too.
 It is so amazing how God passes talent through generations.  
Myself
Picture of my girls that I gave to my mom for Christmas a few years back.

My 12 year old Daughter
Who has taken a go into the 3D world with her talents! Going where the women in her family have never dared to go.  LOL
Her cross is made out of wood (support system), cardboard (created the form), and covered in little pieces of duct tape to create all the beautiful color.

She wanted to do something that reflected her faith.  So after many designs on paper, she went with the cross and her favorite medium...duct tape of course!  The colors in the background reflect a sunset (one from our recent trip in the U.P.) and the grape vine represents us being in the vine (Jesus) and as we are His branches we will begin to produce fruit.  We can only do this because of His great work on the cross.  Pretty cool huh?!


My daughters piece just won a great award and will be going to compete at Nationals in Orlando, FL in the Fine Arts Festival.  We are so proud of her.  I was able to be a part of this same competition when I was in high school my junior year.  I won the highest award in my state, the merit and then went on to Nationals.  So, I am so excited that my daughter made it to Nationals on her first attempt at the age of 12!  WOW!  I can only imagine where her talent is going to take her over the next five years.  Watch out Fine Arts Festival my daughter is about to make her mark!  

You may remember I had the wonderful privilege to judge at the National Fine Arts Festival a few years ago.  You can check out that post here. What a great experience for all of us!  

Here I am at Nationals a bazillion years ago.
And yes that is my hubby in the background!
So young we once were!
During the creation of her piece she wouldn't let any one see.  Thankfully she took her own pictures of part of the process.  She is such a funny girl!
Could not be more proud of my girl!  She did this all on her own and she did a great job.  3D is so out of my comfort zone.  She is has passion for creating sculpture.  I think that comes from the love of math part of her which sadly I do not even dream to have.  Many hours went into this piece and she even got a blister from all the ripping of duct tape.  I am so excited. One way or another Florida here we come....even if we have to ship it to a friend to submit it!


Thank you Lord for all the talents and abilities you give each and everyone of your children.  May we always glorify YOU with them!
GET JOY!

Monday, December 17, 2012

December Photo Project - Day 17

Just finished a Christmas present for my pastor.
GET JOY!

Wednesday, September 26, 2012

In His Image Pencil Portraits by Christina

It is official, I started my own business yesterday!  God has been gently talking with me about the gifts He has given to me.  Finally after many years, I feel that God is wanting me to use my hands to create some art.  Sometimes, God has us go in unexpected directions in our lives and I believe this is a door He wants me to walk through.  So joyfully without further ado....my new business....

http://inhisimageportraitsbychristina.blogspot.com/p/about-christina.html

And come "like" me on facebook!
https://www.facebook.com/InHisImagePencilPortraitsByChristina

Please, stop by and check it out.  Keep it in your favorites.  Remember that Christmas is just around the corner.  A pencil portrait is a great gift idea for that "hard to buy for" or "they have everything" person.  Or maybe it is hard to get all the grandkids together for a group shot because of miles this could be a great solution.  

Always remember that we are all beautifully created "In His Image" and....
GET JOY!

Wednesday, April 4, 2012

The Scrap Box

Spring Break can be a really great time with our family.  We love to explore new places.  One of those places is The Scrap Box in Ann Arbor, MI.  This place is right up my oldest daughters alley.  It is a place for recycled items that you can use for art.  You can get a big brown grocery bag and fill it with as many scrappy things you would like. 

When we got back to my mom's the creating began down in the basement.  Funny side note...We told them they had to go to work down there; because of the mess we knew they were going to make.  They said, "We don't want to work down there....there is a heater...a pit (meaning the sump pump) and it is an abyss!"  Really an abyss....Really!  I made them apologize to their grandma while I was doubling over in pain laughing.

So, here they are creating in the abyss!


Scrappy places and creative minds help me....
GET JOY!

Friday, March 2, 2012

I Love, Love, Love......

Pinterest! 
Oh, how it has changed my life!  I love that I don't have to come up with ideas if I don't want too.  I love that you tell me how to do the fun ideas.  I love that you make my life so much easier and so much more fun!
Valentines for my daughters class.

Some more Valentines.

Diet Coke Brownies, my diabetic dad liked them.

A very fun and easy way to frost cupcakes!

Don't you just love my ice looking candles...its saran wrap!

Love the birthday sign and balloon chandelier.

It didn't wash well but it was fun for the first day of wear.

My daughters favorite piece of art in her room!
Pinterest, I love you!  I am forever addicted....
GET JOY!

Wednesday, June 8, 2011

Girly Summer Crafts 2011!

Fourth of July Fun
Dress up the things you have with fun patriotic ribbon. I got this ribbon at Wal-mart for like $2.00. Look at how cute this plain white bucket hat now looks!!!! So easy, all you need to do is make a bow and sew it on with a simple stitch. You could hot glue it on; but if you want the bow to stay on better sewing it is the way to go! If you are unsure of your sewing skill...do your best and then add hot glue to make sure. hahahahaa!

These were fun patriotic pins we came up with this year. I got a cheep skein of yarn....red, white and blue of course. My daughter then crocheted a very long chain stitch for me. Go here to learn how to crochet a chain stitch. I then sewed the loops together at one end, sewed on a button and a pin on the back. Go here to learn how to make these flowers! How patriotic.... you could pin these on a jacket, dress, or a hat!
Flippy Flops
I love taking cheap flip flops and making them cute! Tie balloons to them! Take scraps of material and tie them on! Our take my fun fabric flowers and tie them on! So many fun ways to make your flip flops dazzling and adorable! And did I mention...how easy it is!!!!

For the balloon flip flops I first tied the ends of two water balloons together. I then tied those around the plastic top of the flip flop. What makes them cute is using complementary colors, patterns or rainbow order....Just have fun!

For these fun fabric flip flops, I borrowed my friend picking shears. You know those scissors that have a zig zag edge to keep fabric from fraying. You don't have to use those, they look fun frayed as well. I wanted to try something different this year. Cut your fabric in several strips to as long and as wide as you like. Lastly, tie them on! Your kids can do this one!!!!!


Don't you just love these gingham ones!!!!
Fabric Flowers!
Have I told you how much I love, love, love making these fabric flowers. I have blogged about making these before, go here to see how. New tidbit though....if you have and embossing heat tool use it! It is so much easier than using fire to melt the edges and less dangerous.


Put this flowers on hats, barrettes, pins, flip flops, purses or anything to make everything more adorable.
If you make lots of this stuff you can then sell it for some summer cash!!!! Whooo HOO!

Being crafty helps me...
GET LOTS OF JOY!

Friday, December 3, 2010

Homemade Christmas ~ Girly Headbands

For the next the next four Fridays, I am going to post some holiday gift ideas that I am making and will be giving this year. Hopefully you will be inspired to make some fun gifts and save some money for yourself this year.


Girly Headbands


Fun Headbands that you can make to go with your girls Christmas dress or give as a gift. This is a fun, easy craft to make and it only takes minutes to make it. It cost very little. I spent 45cents on material, two bucks on rhinestones and two bucks on three headbands.


Supplies:


1. Headband


2. Material (synthetic/polyester....material that will melt)


3. Rhinestones or buttons


Tools


1. Scissors


2. Fire (Candle or oil lamp)


3. Glue Gun


Steps


1. Cut 5 circles out of material.(hey no perfect circles here)


2. Melt edges and sides of material. (This will keep material from fraying. Experiment with the heat to enhance the edges. Practice with a few pieces first. Make sure you don't burn it or burn your house down!)


3. Arrange how you want to layer your flower.


4. Hot glue pieces in center, layer after layer.


5. Hot glue rhinestone or cute button in center of flower and the hot glue to headband (or to a pin, or sew onto a winter hat, or to a purse...whatever you want to)
Have a blessed Christmas and....